Tuesday, December 23, 2014

Annual Ruderman Family Christmas Card 2014


Happy Holidays all!  It's that time of year and here we are in Whoville wishing you all the joy your hearts can hold! 

I feel like we kind of shorted everyone this year "the joy of seeing the expression on the hubs face" when we make these cards...  One of these reasons I married him is because behind that "tough-boss guy" face he puts on for most of the world, is a complete ham and fills my life with so much laughter.  I look forward to this card every year because I know it's the one time my family and friends get to see that side of him.. Therefore, the mask bums me out ever so slightly, but the joy of not having to wipe green paint out of my shower for the next year and half overshadows the sadness.

(The man behind the mask)..

Some fun behind the scenes:


Wishing you a season filled with everything that cannot be store bought... 
From my family, to yours.. 
Merry Christmas!


Tuesday, March 4, 2014

It's all about a King...


Fat Tuesday.  That's what we always called this day growing up.  Having grown up in Texas, not all that far away from New Orleans, I was fully aware that Mardi Gras literally means Fat Tuesday. However, since moving to the East Coast, I've heard it called Shrove Tuesday, Kinkling Day and Fasnacht.  Whatever you call it, I've learned that what it represents is the day before Ash Wednesday and the day you load up on all your favorite treats before Lent and giving them up until Easter!

King cake takes its name from the three kings in the bible.  The season for king cake extends from the end of the Twelve Days of Christmas, Epiphany up until Fat Tuesday.  It's a fun tradition that we started celebrating in our home, when our son was little.  We each always hope to get the baby baked inside!  (Tradition says this baby represents baby Jesus and that the person who gets this piece will have good luck for the coming year.) 

I personally love this tradition!  The problem is that it's not that easy to find a king cake this far out of New Orleans... The solution I've found:  This easy recipe anyone can make!

Cake
3 rolls of 12 refrigerated crescent rolls in the can 

Filling
1/2 block cream cheese
1/4 cup raisins
1/2 teaspoon cinnamon
1/2 cup chopped pecans or walnuts
1/2 cup brown sugar

Icing 
2 cups Powdered Sugar
1/8 c. milk
1 tsp vanilla extract
food coloring

To start, place all filling ingredients in food processor and blend well.


Preheat oven to 350 F. Spray a pizza stone or baking pan with a spray vegetable oil like Pam

Unroll crescent roll dough and separate each triangle. Place triangles next to each other with the points toward the center, overlapping the longer sides to form a large circle.. Press together where the pieces overlap in the center but be sure to leave the ends of the seams unsealed at both ends so you can fold them over the filling.  Three cans makes a very large circle.  You may have a few left over, but you can use them to strengthen any weak sections after folding.


Once you have your dough circle, spread the filling around the center in about a one-two inch inner circle.


Place a small plastic baby somewhere in the filling. *Don't worry about baking it, I've never had one melt.


Fold the top side of each triangle over the filling to cover.  Next, pull the point of the triangles from the inside of the circle over the fold you just created, tucking it under neatly as you go.  Lightly press all the seams to keep the filling from escaping.   This is where you can use the extra dough if needed to reinforce any weak sections.


 Bake about 20 minutes or until golden brown. Let cool to room temperature.


For the Icing, whisk together the ingredients until smooth. You want the consistency to be almost like glue so it will slowly dribble down the cake as you spoon it on.  Next, separate into three bowls and add the food coloring.  The traditional colors of Mardi Gras King Cake are purple, green and yellow.  Purple represents justice, green represents faith and gold represents power.  Spoon each color 4 times around your circle, starting with your darkest color first.


 Let dry for a few minutes between colors.


Eat, drink and be merry my friends for tomorrow begins Lent and 
we certainly wouldn't want this left over!

Oh and I hope you get the baby!  Good luck!


Thursday, February 13, 2014

Chocolate Dipped Shortbread Cookies


Chocolate dipped shortbread cookies are my special Valentine's favorite, so I bet you can't guess what he's getting this year?!  Shhhhh... it's our little secret (at least for one more day). 
 

Shortbread is one of those basic cookies you can whip up any time, however if you're a lover of gluten-free or fat free treats, you're going to want to skip this recipe.. 

This decadent little simpleton is simply not a member of the American Heart Association. 


The recipe:

3/4 pound unsalted butter-room temperature
1 cup sugar
1 teaspoon vanilla extract
3 1/2 cups flour
1/4 teaspoon salt
*In a pinch, you could leave out the vanilla and salt and still have a delicious cookie you can be proud of. 

For dipping:
2 cups of your favorite semi-sweet chocolate chips


To begin the cookie making process, I cream together the butter and sugar, then mix in the vanilla. In a separate bowl, I sift together the flour and salt.  Next, I add the two mixtures together and continue mixing on low speed until the dough begins to form. 
When the dough is ready, I place a sheet of parchment paper on a flat surface then pour the dough mixture on to it and form it into a large ball.  
 
Next, I roll and flatten the dough into a long flat oval. I find that this makes it easier to roll all the way out after it has chilled without the major cracking that can happen when making shortbread.  One my oval is ready, I wrap it in plastic and place in the refrigerator for about 30 minutes.
After the dough has chilled it is much easier to roll. I like to roll it to about 1/4 inch thick then I cut it with a 2-inch heart-shaped cutter. 
Once the hearts are ready, I place them on a cookie sheet and freeze for one hour. This ensures the hearts bake perfectly without losing their shape.   *If I am planning on serving them fresh, I just freeze until I'm ready to bake.

I bake the cookies in a preheated, 350 degree oven for 17 to 20 minutes or until the edges begin to brown.  The thicker the cookie the longer they need to cook.


When my cookies are completely cool, I get ready to dip them.

I prepare a fresh sheet of parchment paper on a flat surface to place the dipped cookies on.

I  like to dip 1/2 the cookies at a time to ensure the chocolate doesn't harden during the process.  In order to do this, I only microwave 1/2 the chocolate chips (one cup) on high for 1 minute.  Stir, then repeat for another minute.  Now my chocolate is ready for dipping!


I like the rustic look of just dipping half the cookie in.  There is no rhyme or reason, I just dig in.  The worst thing happens is I don't like the results...  When that happens, I eat my mistake and move on.. :)

I place the dipped cookies on the parchment paper and allow to dry at room temperature for one hour, then I quick pop them into the freezer for 15 minutes if boxing for gift giving.


The final step is my favorite...  I find a fabulous gift box or I plate them for serving! 


Be sure to let me know if you try these little gems!  They are the way to my man's heart.  Here's hoping you love them too.

Cheers!

Wednesday, February 12, 2014

Monday, February 10, 2014

Rasberry Lemon Meringue Valentines - It's all about LOVE


One of my fondest memories of Valentine's Day was a handmade valentine I received every year from my grandmother.  She would intricately weave pieces of paper into the shape of a heart pocket.  Then she would enclose a hand cut heart with a tiny message of love... I would bolt to the mailbox just as fast at age 13 as I did at five to see if it had yet arrived. I am blessed with a beautiful cousin who continues my grandmother's tradition and it my seem silly, but I still feel like I'm five years old every time her valentine arrives!  Like Charlie Brown, I just adore receiving that little token of love..


I realize now that those little traditions or rituals we perform every year are what memories are made of in the hearts of those we love.  

Apparently some things are just in your DNA, because my mother was a huge romantic.  The moment she took down the Christmas decorations, you could hear her buzzing around the house humming love songs and decorating with her well loved cupids, doilies and lace lined hearts. She was a passionate soul, the kind that Valentine's Day was most certainly created for.  Valentine's wasn't a day in our house, it was a month!  Not that I'm complaining.. on the contrary.. each Valentine's Day we would awake to find a big red heart filled with chocolates or a plate of special valentine cookies made just for us and we always felt incredibly loved. 

I know that most would say Valentine's day is intended for romance between lovers, but I disagree.  I think it's a day of love.. my grandmother's and my mom's philosophy, now my own.  A tradition I gladly continue.

I'm a bit of an old-fashioned girl and I just love a hand made valentine!  When I found this adorable Raspberry Meringue Valentine recipe, I just knew I had to try it!  I've decided to share it because it was so incredibly simple and it turned out so beautifully! 


Lemon Meringue Hearts

2 large egg whites
1/4 teaspoon cream of tartar
1/2 teaspoon salt
1/2 cup sugar
1 1/4 teaspoon lemon juice
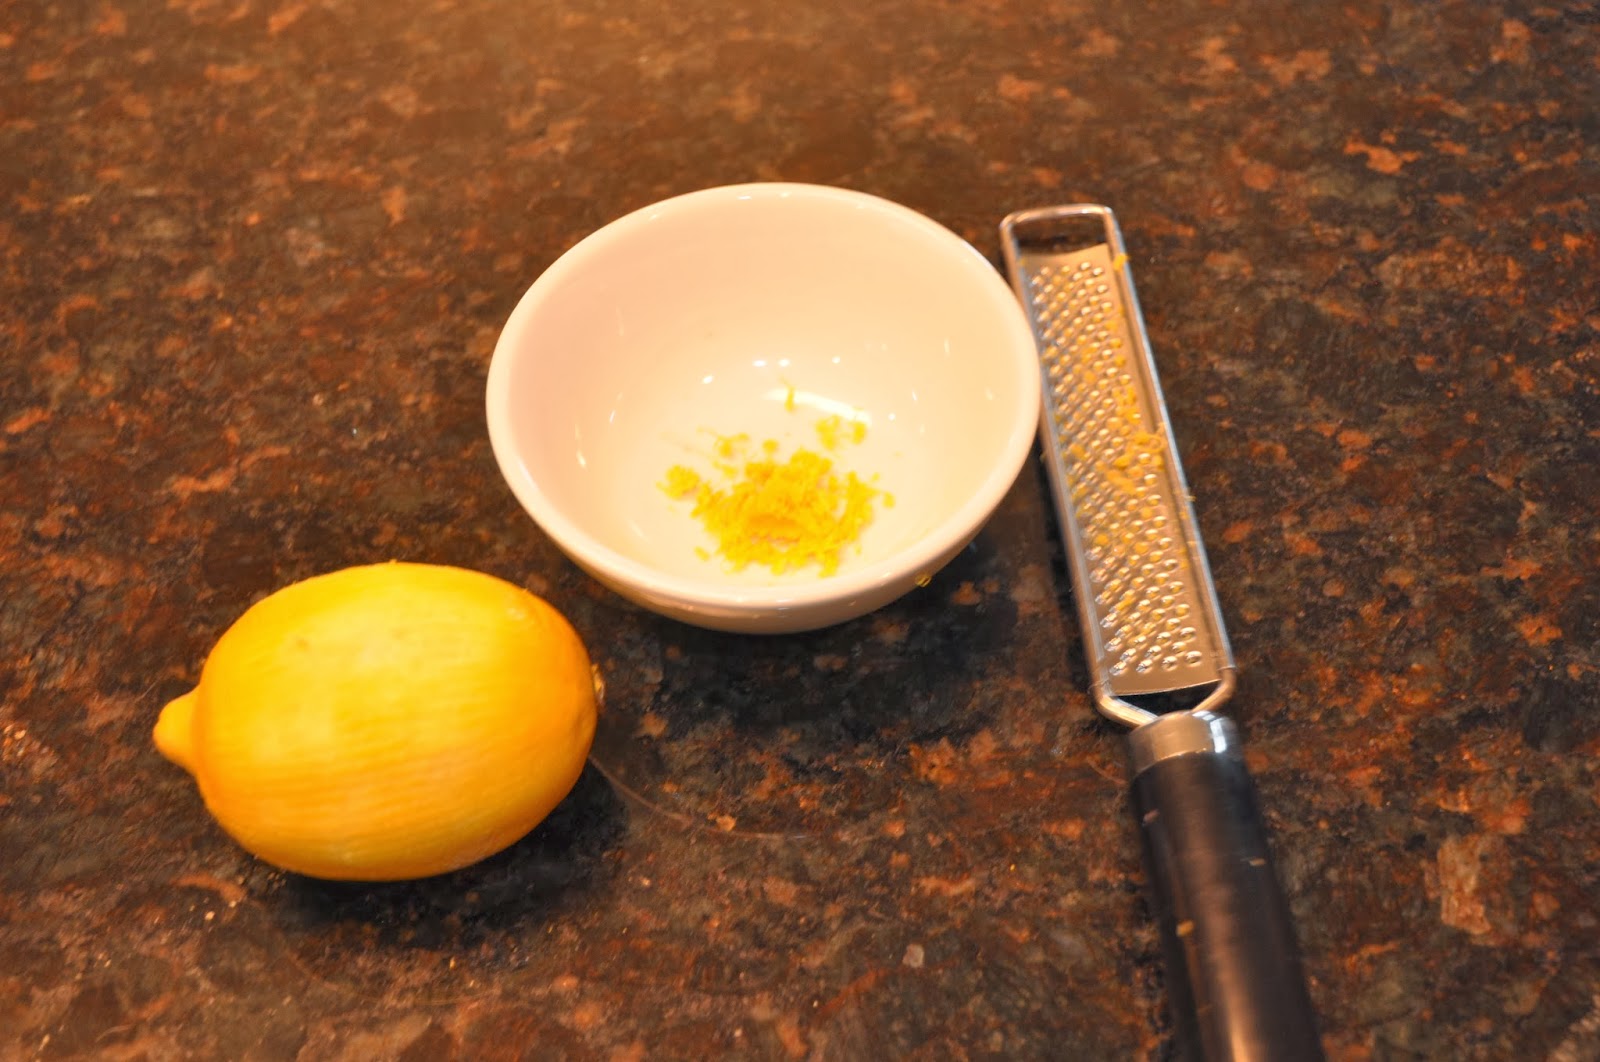
1/2 teaspoon grated lemon zest
1/2 teaspoon vanilla extract
Raspberry Jam

First, preheat your oven to 200 degrees and line a baking sheet with parchment paper.  Using a pencil, draw 13, 2 inch hearts on the parchment, spacing evenly.  Turn the parchment over and set inside the baking sheet.  Have a pastry bag fitted with a 1/4 inch wide tip ready or as I've said in the past, my favorite kitchen tool is my handy dandy Wilton Decorator which I find incredibly easy to use for a task like this one!  

In the large bowl of an electric mixer, beat egg whites on medium for maybe a minute or two or just until foamy.  Next, add the cream of tartar and salt and beat until soft peaks form.  In order to know if you have a soft peak, just turn your whisk upside down.  You will see a small peak that barely holds.  This is when you'll start to add in the sugar 2 tablespoons at a time, letting it dissolve before adding the next round.  Once it's all added, turn the mixer to a high speed and beat until the whites are glossy and stiff.  This takes a while, so patience is a virtue.

You'll know the meringue is ready when you rub a small amount between your fingers and no longer feel the sugar grains and the mixture itself is thick and heavy and holds a peak proudly. At this point, beat in the vanilla, lemon juice and zest, just until mixed. I'd say that the biggest factor in making these tasty little numbers amazing.. is the lemon zest and juice. A little goes along way, but it's the one ingredient that makes this meringue incredibly special!

  
Next, fill your pastry bag or decorator with the meringue and pipe an even, thin layer of meringue to fill in the shape of each heart you've drawn.  


After you've filled in all 13 hearts, go back and pipe a border on top of each heart to form a 1/2 inch high edge.  


Let them sit for about 30 minutes before popping them in the oven.  This will dry them out and help give them a crispy shell.

Bake for 1 1/2 hours or until they are dry, creamy white and firm to the touch.  They're done when they release easily from the parchment paper with a spatula.  At this point, I like to cool my meringue overnight.  The added drying time makes them incredibly easy to work with and decorate.  


In the past, I've found that meringue can be difficult. I think that the real key to making meringue easy, is to keep ALL the yellow out of your egg whites, make sure your egg whites are room temperature and dry your meringue in a very dry location (such as the oven) overnight.
After that, it's child's play.

When the meringue is firm and dry, you are ready to assemble.


To assemble, you'll place a small dollop of jam in the center of each heart and spread to cover the bottom.  


Voila!  I can hear my grandmother and mother oohing and ahhing in my ears..
They are adorable, aren't they?

 
Happy Valentine's my friends!
I wish you a day filled with all the love your heart can hold!